
meringue chicks
light and airy meringues with a crunchy outside and chewy centers
baked in April 2025
yield: 40 cookies
prep time: 15 minutes
cook time: 90 minutes
difficulty level: medium
Ingredients
- 4 large egg whites, room temperature (120g)
- 1/2 teaspoon cream of tartar - optional
- 1 cup superfine (caster) or granulated sugar (200g)
- 1/2 teaspoon vanilla or almond extract - optional (3g)
- pinch of fine salt - optional
- yellow and orange gel food coloring
- black round sprinkles
Directions
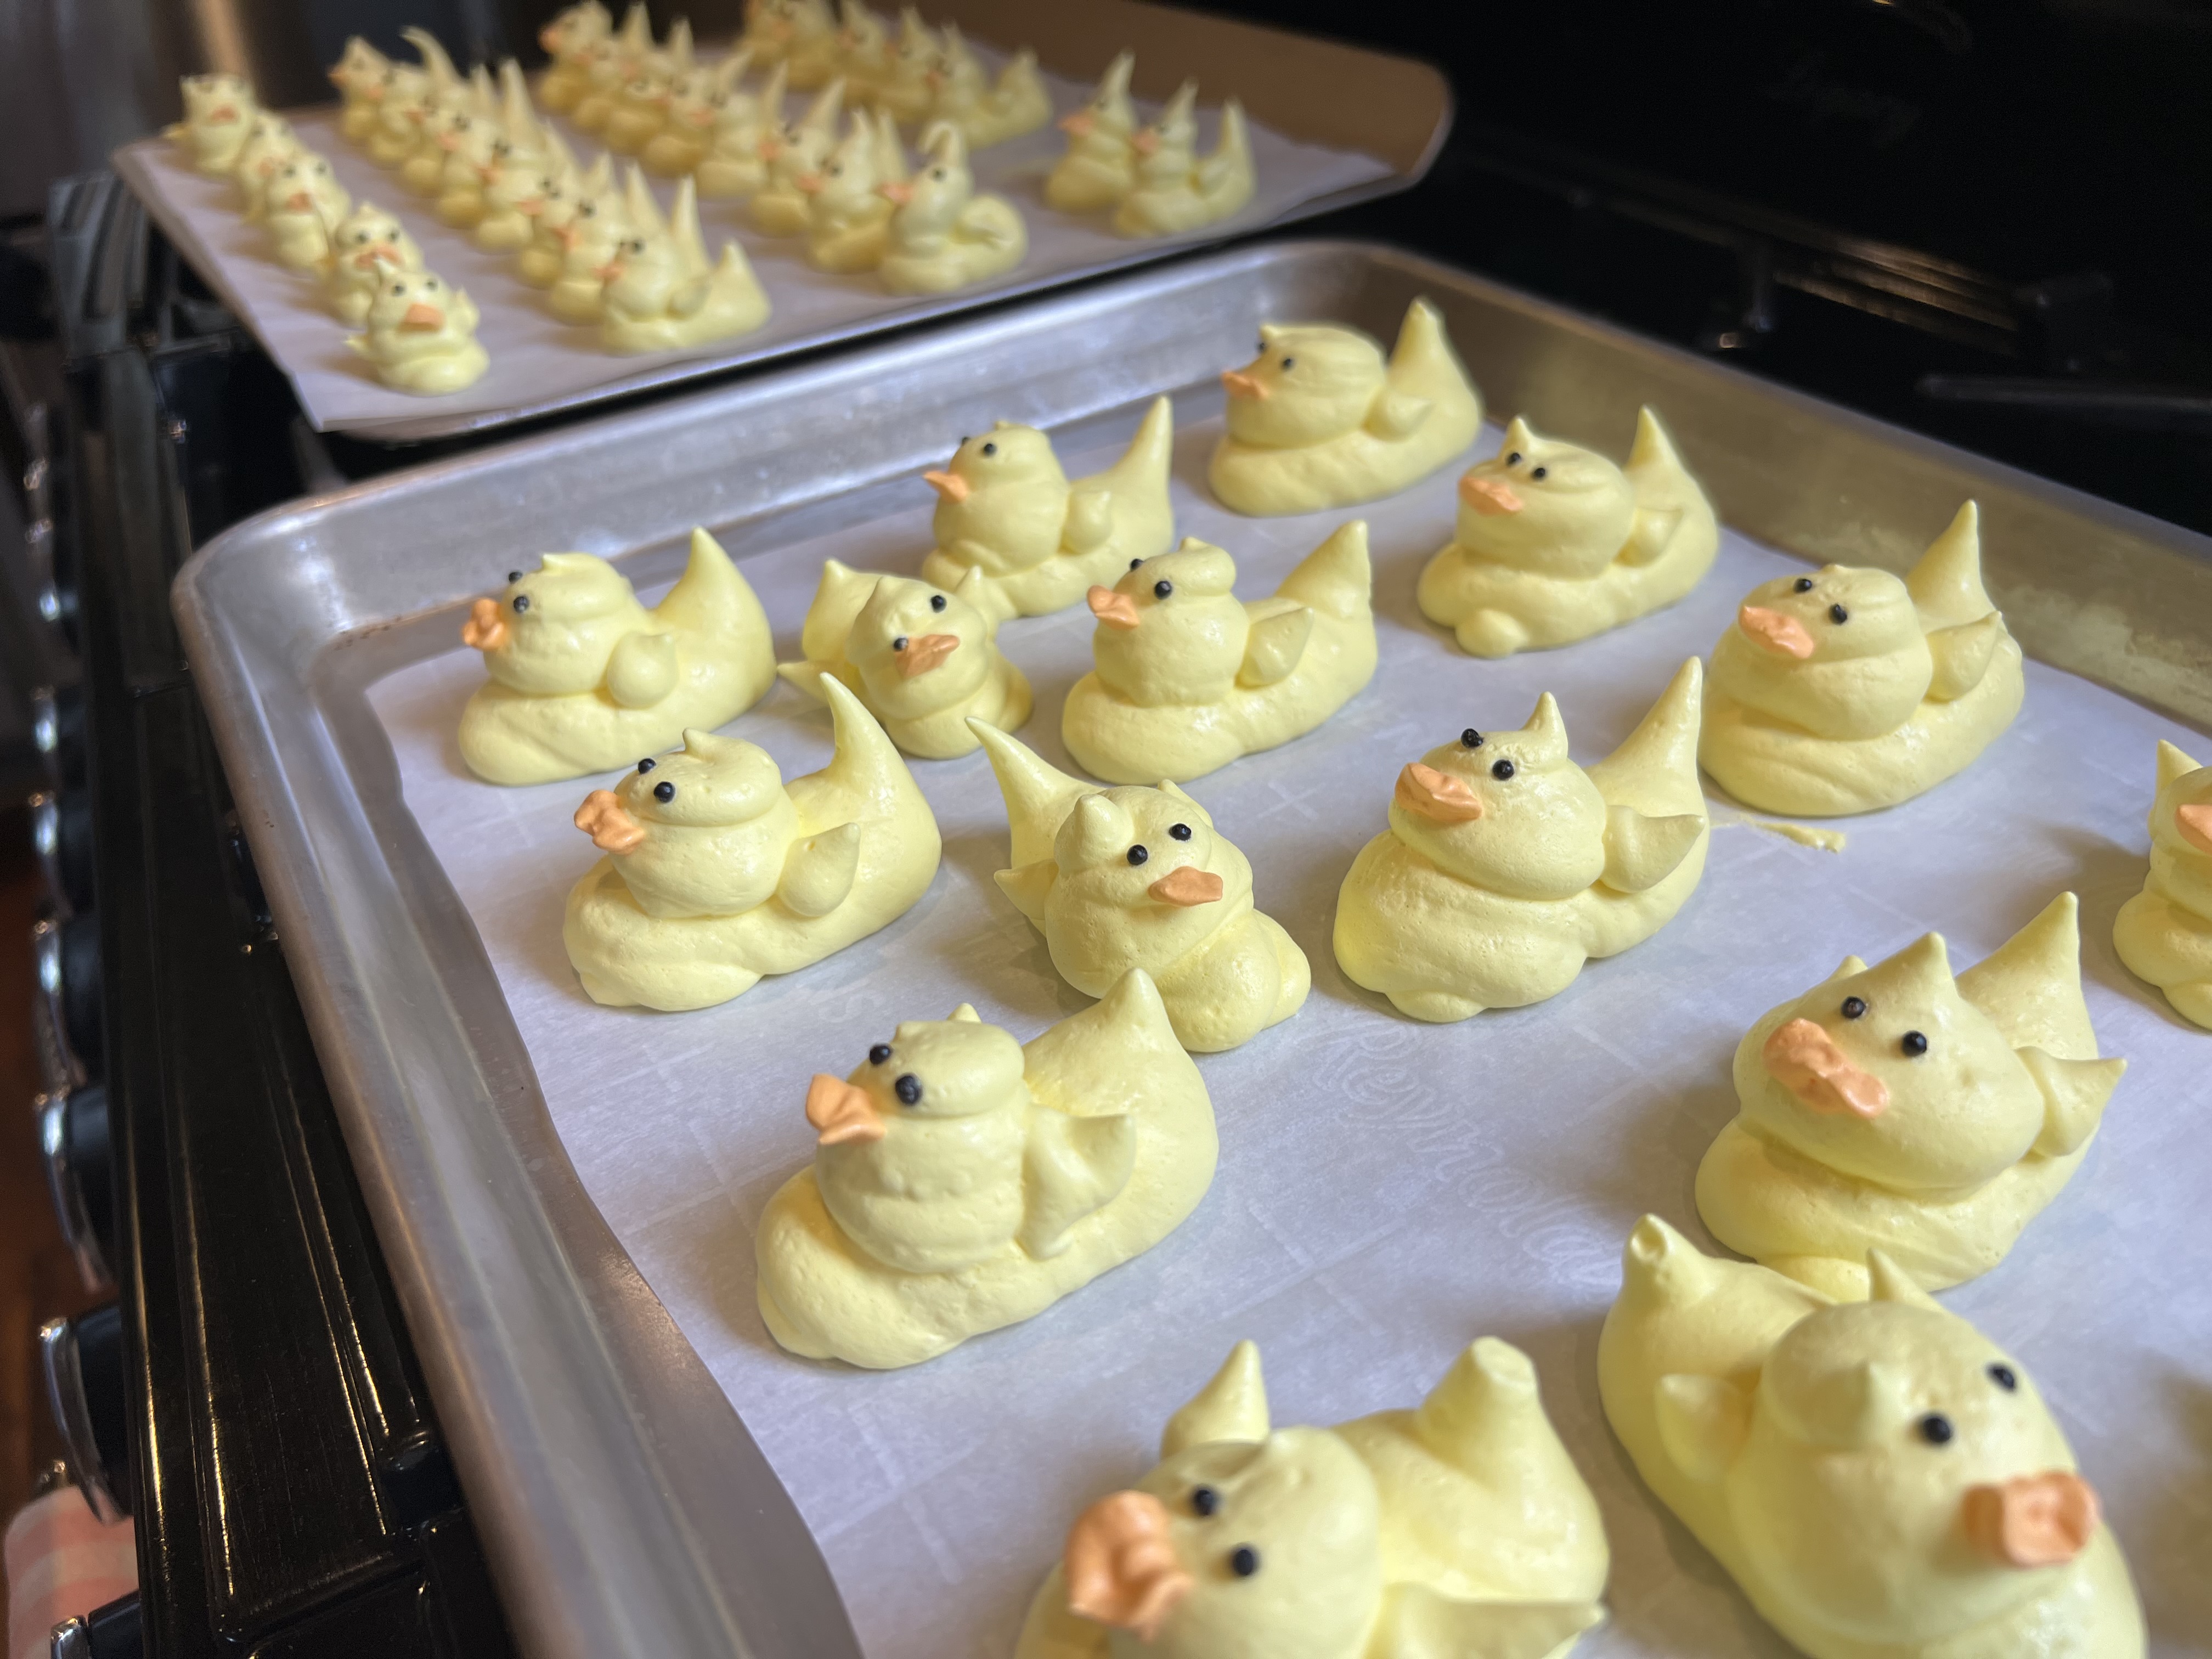
- Preheat the oven to 200°F and line a large baking sheet with parchment paper or a silicon mat. Set aside.
- Before you whip up the meringue, make sure there are no traces of grease on the whisk attachment or in your bowl. Grease can prevent the meringue from whipping up properly. If you see or feel any grease, moisten a paper towel with vinegar and wipe the inside of the bowl and the whisk attachment to remove any grease.
- Then add 4, large egg whites into the bowl of a stand mixer with a whisk attachment and mix on medium speed until the surface of the egg whites is covered in small bubbles.
- Add 1/2 tsp cream of tartar and continue to mix until it reaches the soft peak stage and leaves visible tracks.
- Gradually mix 1 cup of granulated sugar into the egg whites over a few minutes while mixing on a medium-low speed. Increase the mixing speed to a medium-high speed (6 on a KitchenAid).
- When the meringue gets close to reaching stiff peaks, add 1/2 tsp of vanilla or almond extract and a generous squirt of yellow gel food coloring.
- Keep mixing until stiff, glossy peaks form. Scrape around the sides of the bowl to make sure all the meringue is evenly colored.
- Fit a large piping bag with a small round tip that's about 1/2 cm or 1/4 inch in diameter (like a Wilton 10).
- Then, scoop most of the yellow meringue into a large piping bag, leaving about 1/2 cup of meringue in the bowl. Seal the top of the bag with a rubber band or clip.
- Add a small squirt of orange gel food coloring to the remaining meringue and gently mix until it's evenly colored.
- Scoop the orange meringue into a small piping bag fitted with a v-shaped leaf piping tip (like a Wilton 66).
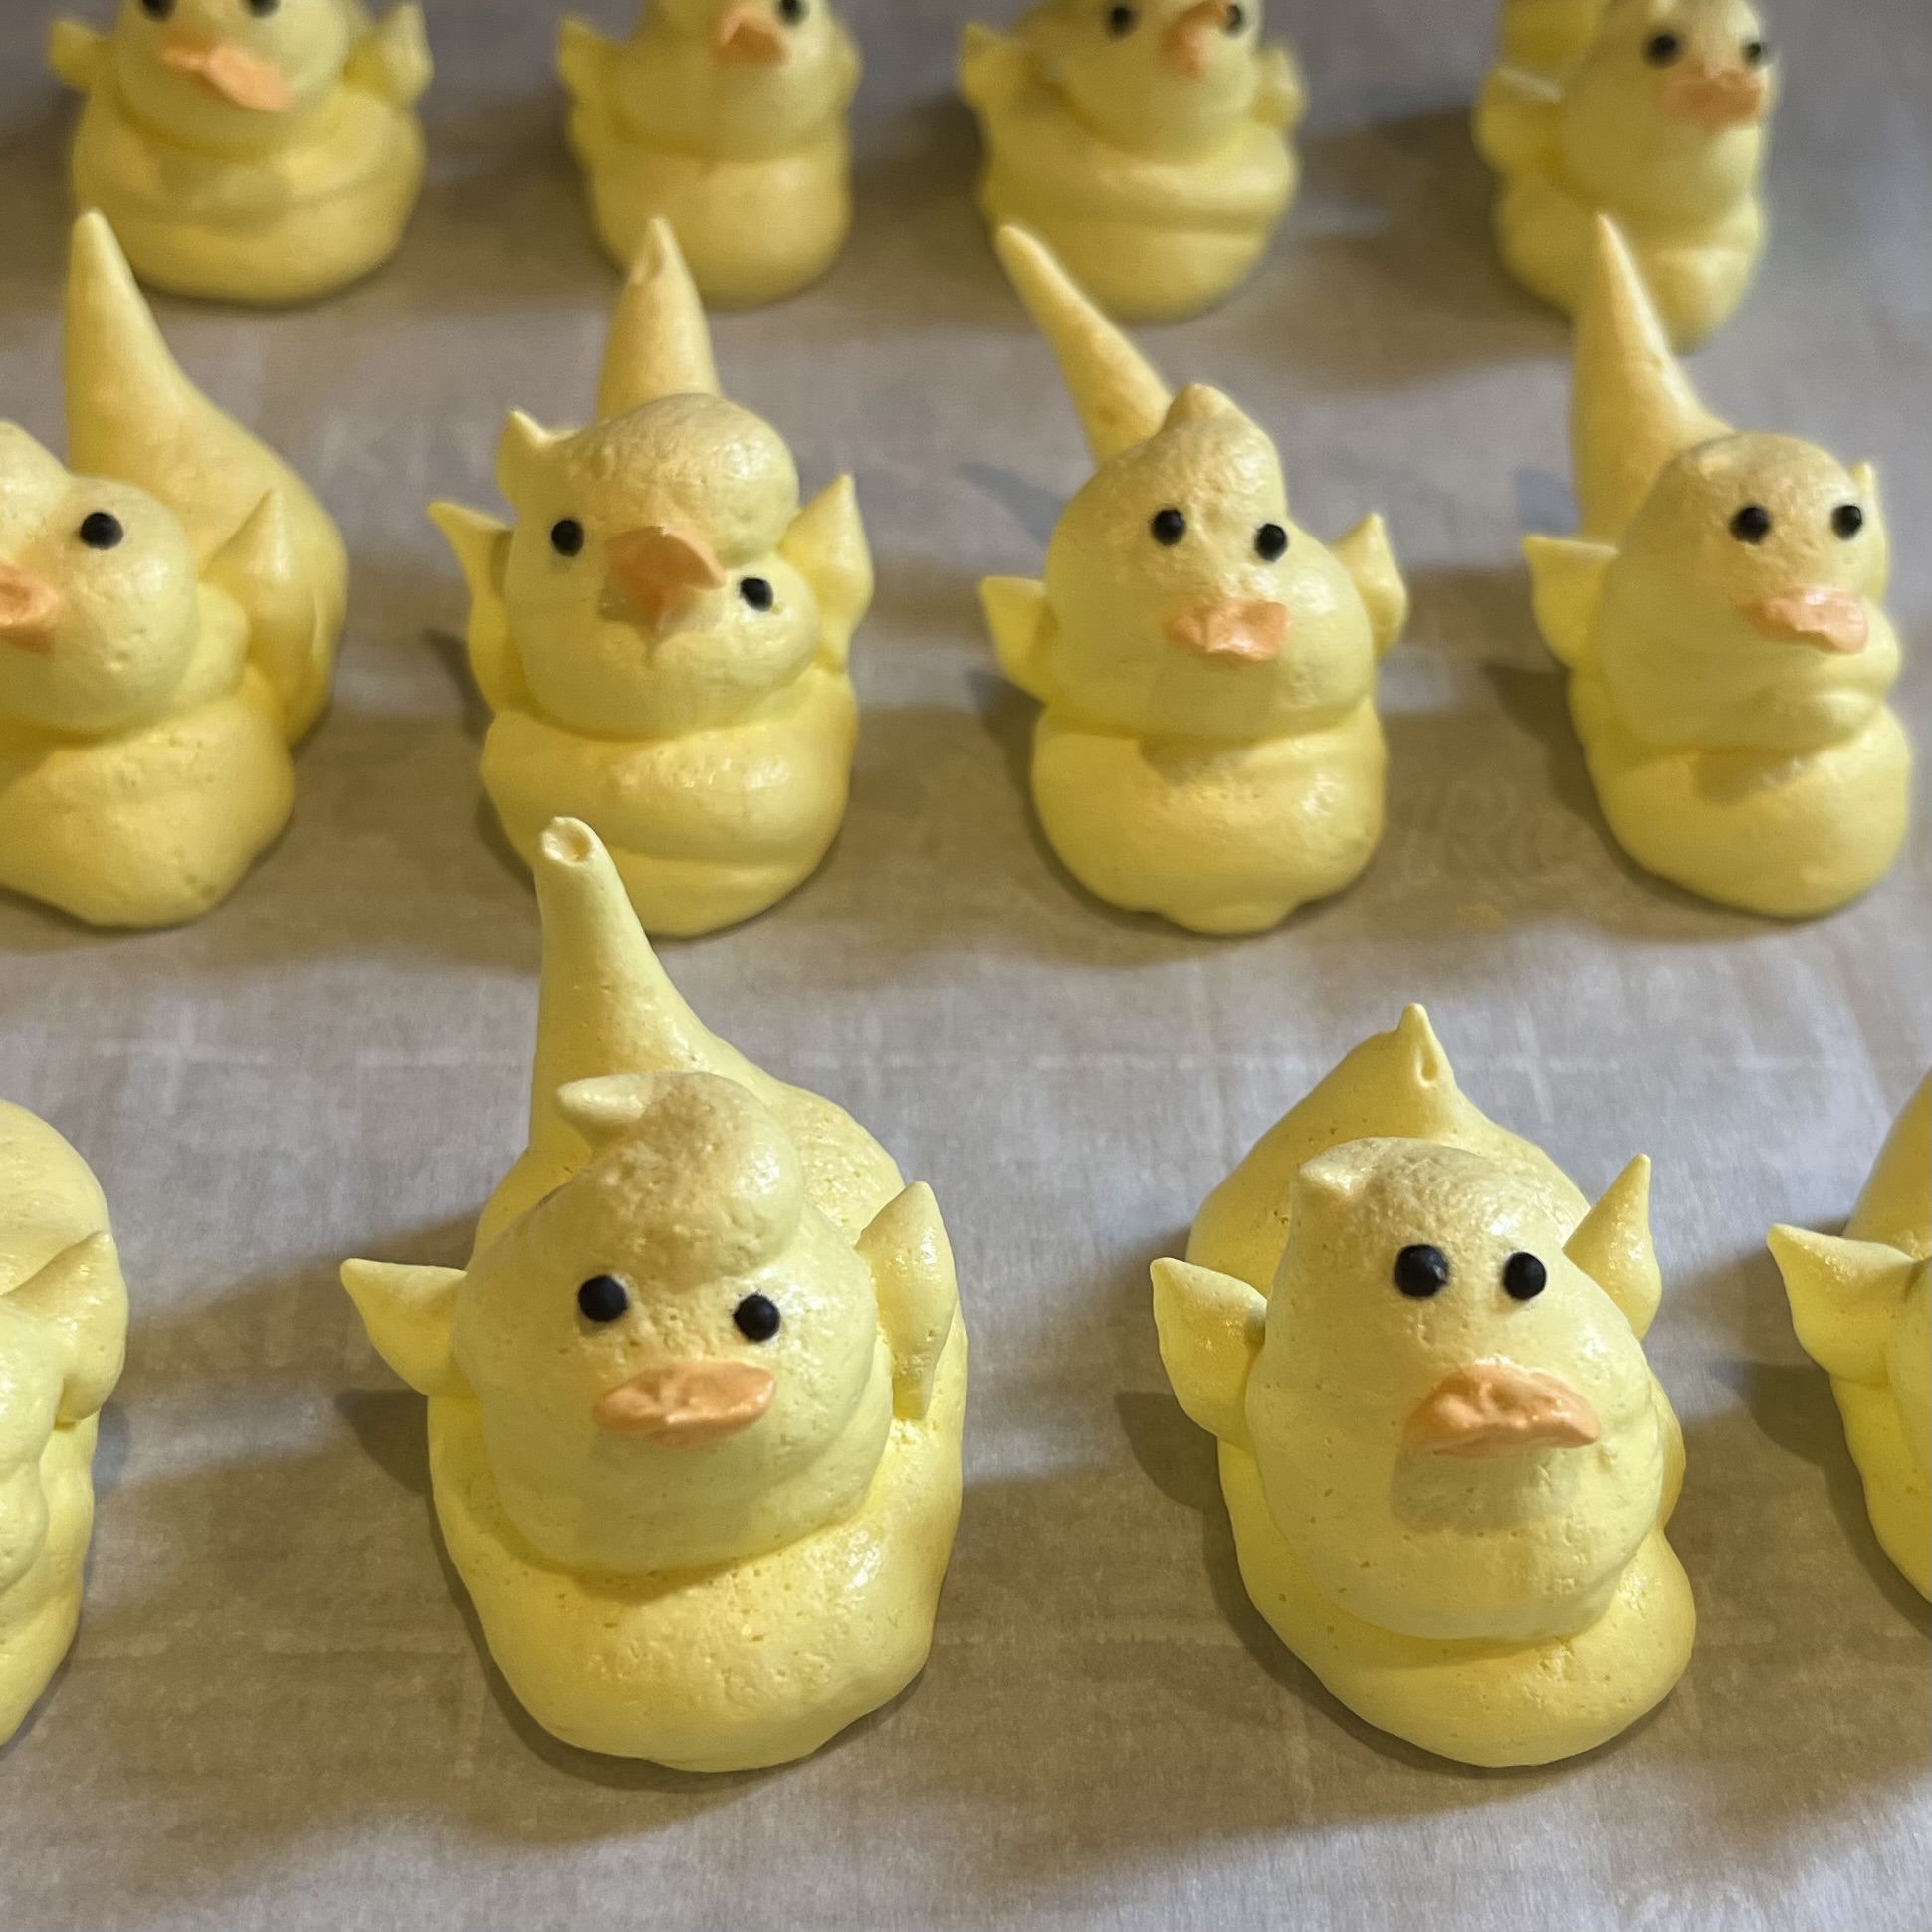
- Use the yellow meringue to pipe the body of the chick. It should look tear-drop shaped, and the little point is the chick's tail.
- Then pipe the chick's head on top of the body, followed by little wings on both sides.
- Use the orange meringue to pipe on the chick's beak (see pics above), and use little black sprinkles to make the chick's eyes. These don't spread as they bake, so they can be piped about 1 inch apart. Note: If you don't have sprinkles, you can wait until the chicks are baked, then either paint them on with a mixture of clear alcohol or extract mixed with black gel food coloring, or use an edible black marker to draw them on.
- Bake the tray on the middle rack of your oven for 90 minutes, then turn the oven off and let the chicks sit in the oven for another hour. Letting them gradually cool helps prevent them from cracking. At this point, the chicks should be fully cooked and look and feel dry to the touch. If they still seem wet or moist, leave them in the oven for another half hour.
- Remove the tray from the oven. They should have a crunchy exterior and a soft, chewy center. Let the meringues cool fully to room temperature, then enjoy! These can be stored at room temperature for up to two weeks but will soften over time.
Nutrition
- Total calories: 851
- Calories per meringue: 21